How to change a faulty drive in UNRAID
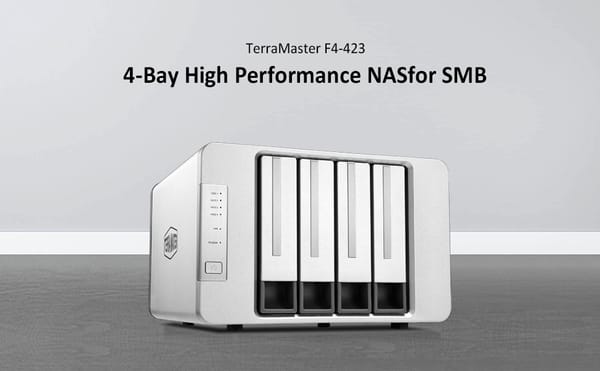
Unraid is a popular operating system for home and small business servers, offering a range of features for data protection, media streaming, and virtualization. However, like any computer system, Unraid can experience hardware failures, including faulty drives. In this article, we will go through the steps to replace a faulty drive in Unraid.
Before starting, it is important to make sure you have a backup of your data. This is particularly important if you are using Unraid's data protection features, such as parity or cache pool.
Step 1: Identify the faulty drive
The first step is to identify which drive is causing the issue. This can be done through the Unraid web interface, which provides information on the status and health of each drive. If a drive is marked as "Faulty" or "Degraded," it is likely the cause of the problem.
Step 2: Shut down the system
To replace a faulty drive, you will need to shut down the system. This can be done through the web interface or by physically pressing the power button on the server.
Step 3: Remove the faulty drive
Once the system is shut down, you will need to physically remove the faulty drive. This usually involves opening the case of the server and removing the drive from its slot. Make sure to follow the manufacturer's instructions for this process, as it can vary depending on the server model.
Step 4: Replace the faulty drive
With the faulty drive removed, you can now insert the replacement drive. Make sure to follow the manufacturer's instructions for this process, as it can vary depending on the server model.
Step 5: Start the system
Once the replacement drive is installed, you can start the system by pressing the power button or through the web interface. Unraid will automatically recognize the new drive and start the rebuild process. This process can take some time, depending on the size of the drive and the amount of data on it.
Step 6: Check the status of the rebuild
Once the rebuild process is complete, you should check the status of the new drive to make sure it is functioning correctly. You can do this through the web interface, which should show the new drive as "Healthy" and "Active."
That's it! You have now successfully replaced a faulty drive in Unraid. It is important to regularly check the status and health of your drives to ensure that your system is functioning properly and to catch any potential issues before they become bigger problems.